


I love to experiment and being new to growing micogreens, I’ve decided to try new crops in a smaller quantity first. This allows me to see the germination of the seeds and allows me to “taste test” the crop before growing an entire 10″ x 20″ tray (also known as a 1020). These “test crops” also allow for me to try different mediums. I can also grow a “succession of crops” to allow me to sow a square every other day or so, in order to have a constant supply of greens. As one square is eaten, another square is mature and ready for harvest.
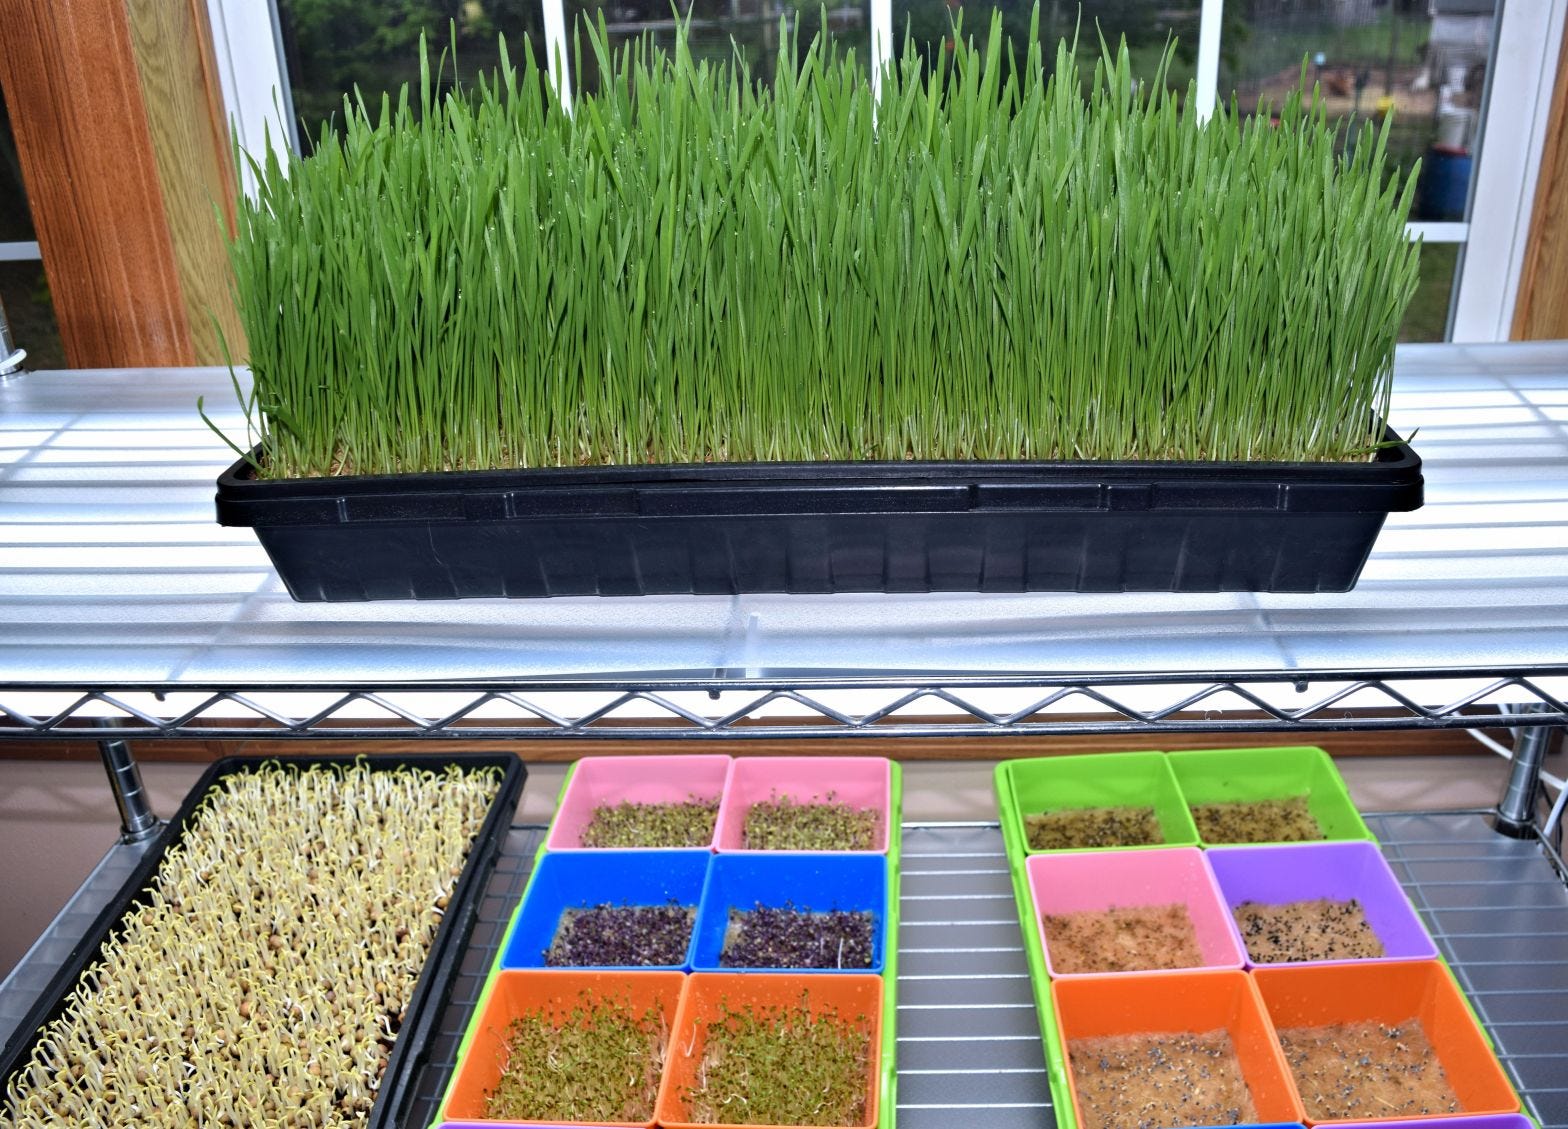
The trays I’m using are from Bootstrap Farmer and are 5″ square. They are available in black or multi-colored, as I have. I like having different colors which makes it easy to keep track of which seeds are which. It can get confusing, believe me. I still make notecards and keep a journal.
This test also includes using a soil-less medium, one used for growing hydroponically made from hemp fibers by TerraFibre a company in Canada. I purchased the 5″ squares of Terrafibre that fit nicely into the 5″ colored trays made by Bootstrap Farmer. This size works well for testing varieties of seeds, testing mediums and just overall for growing smaller crops. I place the 5″ colored trays into a 2.5″ deep solid tray to allow for bottom watering and providing nutrients to the plants. It’s a little tricky to get the water distributed to all eight of the squares. I try to lift a different 5″ tray each time to allow the bottom watering to reach all the squares in a uniform manner, I tilt the tray around before replacing it on the shelf under the lights.
I was mostly interested in growing alfalfa and mung beans since they are typically grown as a sprout in a jar which can be problematic for mold growths. I wanted to try sprouting it “vertically” and keeping it as a “live” product until it is ready for consumption. This vertical growing in a tray hydroponically instead of doing sprouts and rinsing the seeds in a jar should provide the air circulation and discourage mold growth. Also, the thought of using coco coir for alfalfa sprouts seemed a little to dirty for the end product. I’ve seen alfalfa sprouts grown on fiber squares and packaged as a “live” product, so why not try it for myself?
I like to make a index card to place with each tray of sprouts that notates the crop, variety, amount sown, growing specifics, i.e., how many days to use weights, blackout periods and harvest date. I also keep a notebook that journals each crop’s progress, starting with day zero which is the date the crop is started, whether it is sprouted before planting or planted directly into the flat. I do not count any overnight soaking as a “day”. Keeping good notes and having quickly referenced cards keeps me organized and the journal has notes on the crop’s progress and if there are any problems or changes in protocol for next time. For these test trays I also included the color of the 5″ tray for each variety I was growing. I can tell at a quick glance what each one is and make mental notes without having to pull out my notebook.
My notations may seem cryptic but it makes sense once you understand the abbreviations. The notation 3W means the seeds have a tray with weight applied the first 3 days. (I used old magazines for weights. Easier for me to lift a few at a time and they were handy.)
When I record 2 BO it indicates the crop will spend 2 days in “blackout” which translates for me that the top tray will have the weight removed, and I will turn the top tray upside down to create a dome and allow the crop to grow taller but remain in the dark for continued germination, known as blackout and abbreviated BO. Not all crops have the same requirements for germination, growing requirements and harvest times.
The picture above was taken the day after I introduced the plants to light. At this point I was still misting the plants from above but transitioned the following day to bottom watering. This can be tricky when growing different crops in the same 1020 tray, even with the separate 5″ trays. The seeds all need to be germinated before introducing the tray to the light. I use another 5″ tray on top of the seeds to keep some seeds in blackout while others were exposed to the light.
My Experiment
I chose to try a variety of seeds and from several sources. I also did two 5″ containers of the same seeds for most of my “crops” so I could eliminate weird variables. I didn’t want a fluke, some happenstance something that could go bad on me, to influence my thoughts on a particular seed or seed source. Overall I am very happy with the results of all the vegetable crops I did.
I did two trays for this experiment, one contained various vegetables and the other tray a variety of herbs. The herbs are much slower at germinating than the vegetable seeds. I’ll talk more about them later, in another post, when there is something to show. They are much slower and require patience.
The Vegetable Tray
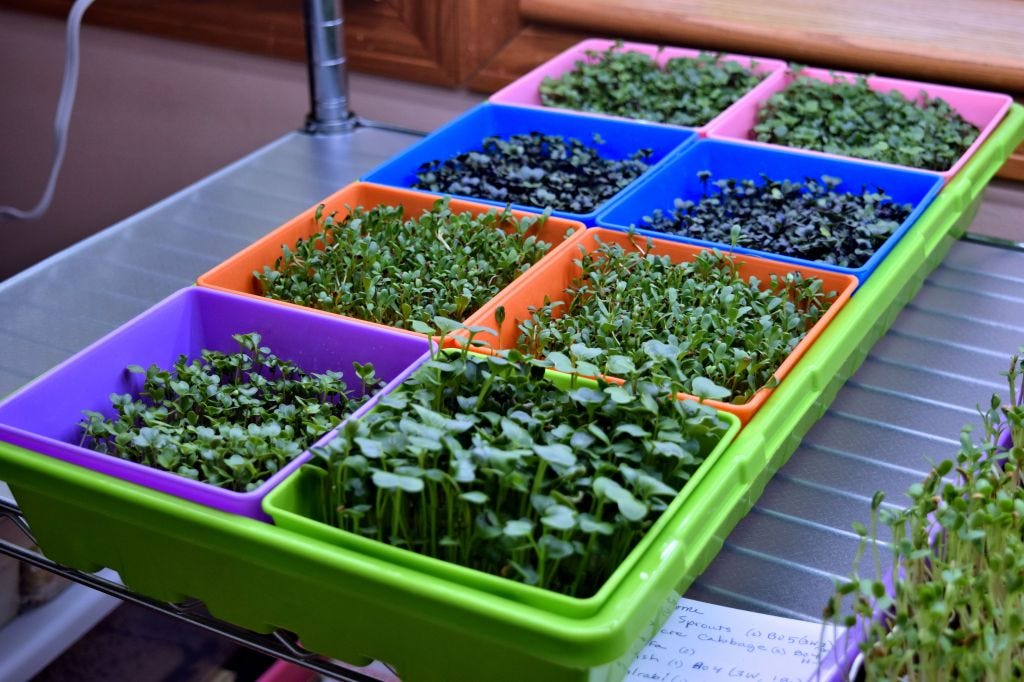
This tray consisted of 5″ containers with slits on the bottom (for drainage) and came in assorted colors, placed inside a 2.5″ solid tray (to allow bottom watering later), both from Bootstrap Farmer. (This size is also available in black for a little less money.) The growing medium is made from hemp fibers for hydroponic growing, made by a company called Terrafibre and pre-cut to 5″ squares, perfect for these containers. I find that size very convenient for a small scale operation or in this case my “experiment”. The hemp fiber also comes in sheets and rolls and are much more affordable. These finished “crops” also will fit nicely into my 6″ square clamshell containers.
The Crops
Long Island Approved Brussels Sprouts (Brassica oleracea var. gemmifera), from True Leaf Market in the two pink containers
Red Acre Cabbage (Brassica oleracea var. capitata), from True Leaf Market in the two blue containers
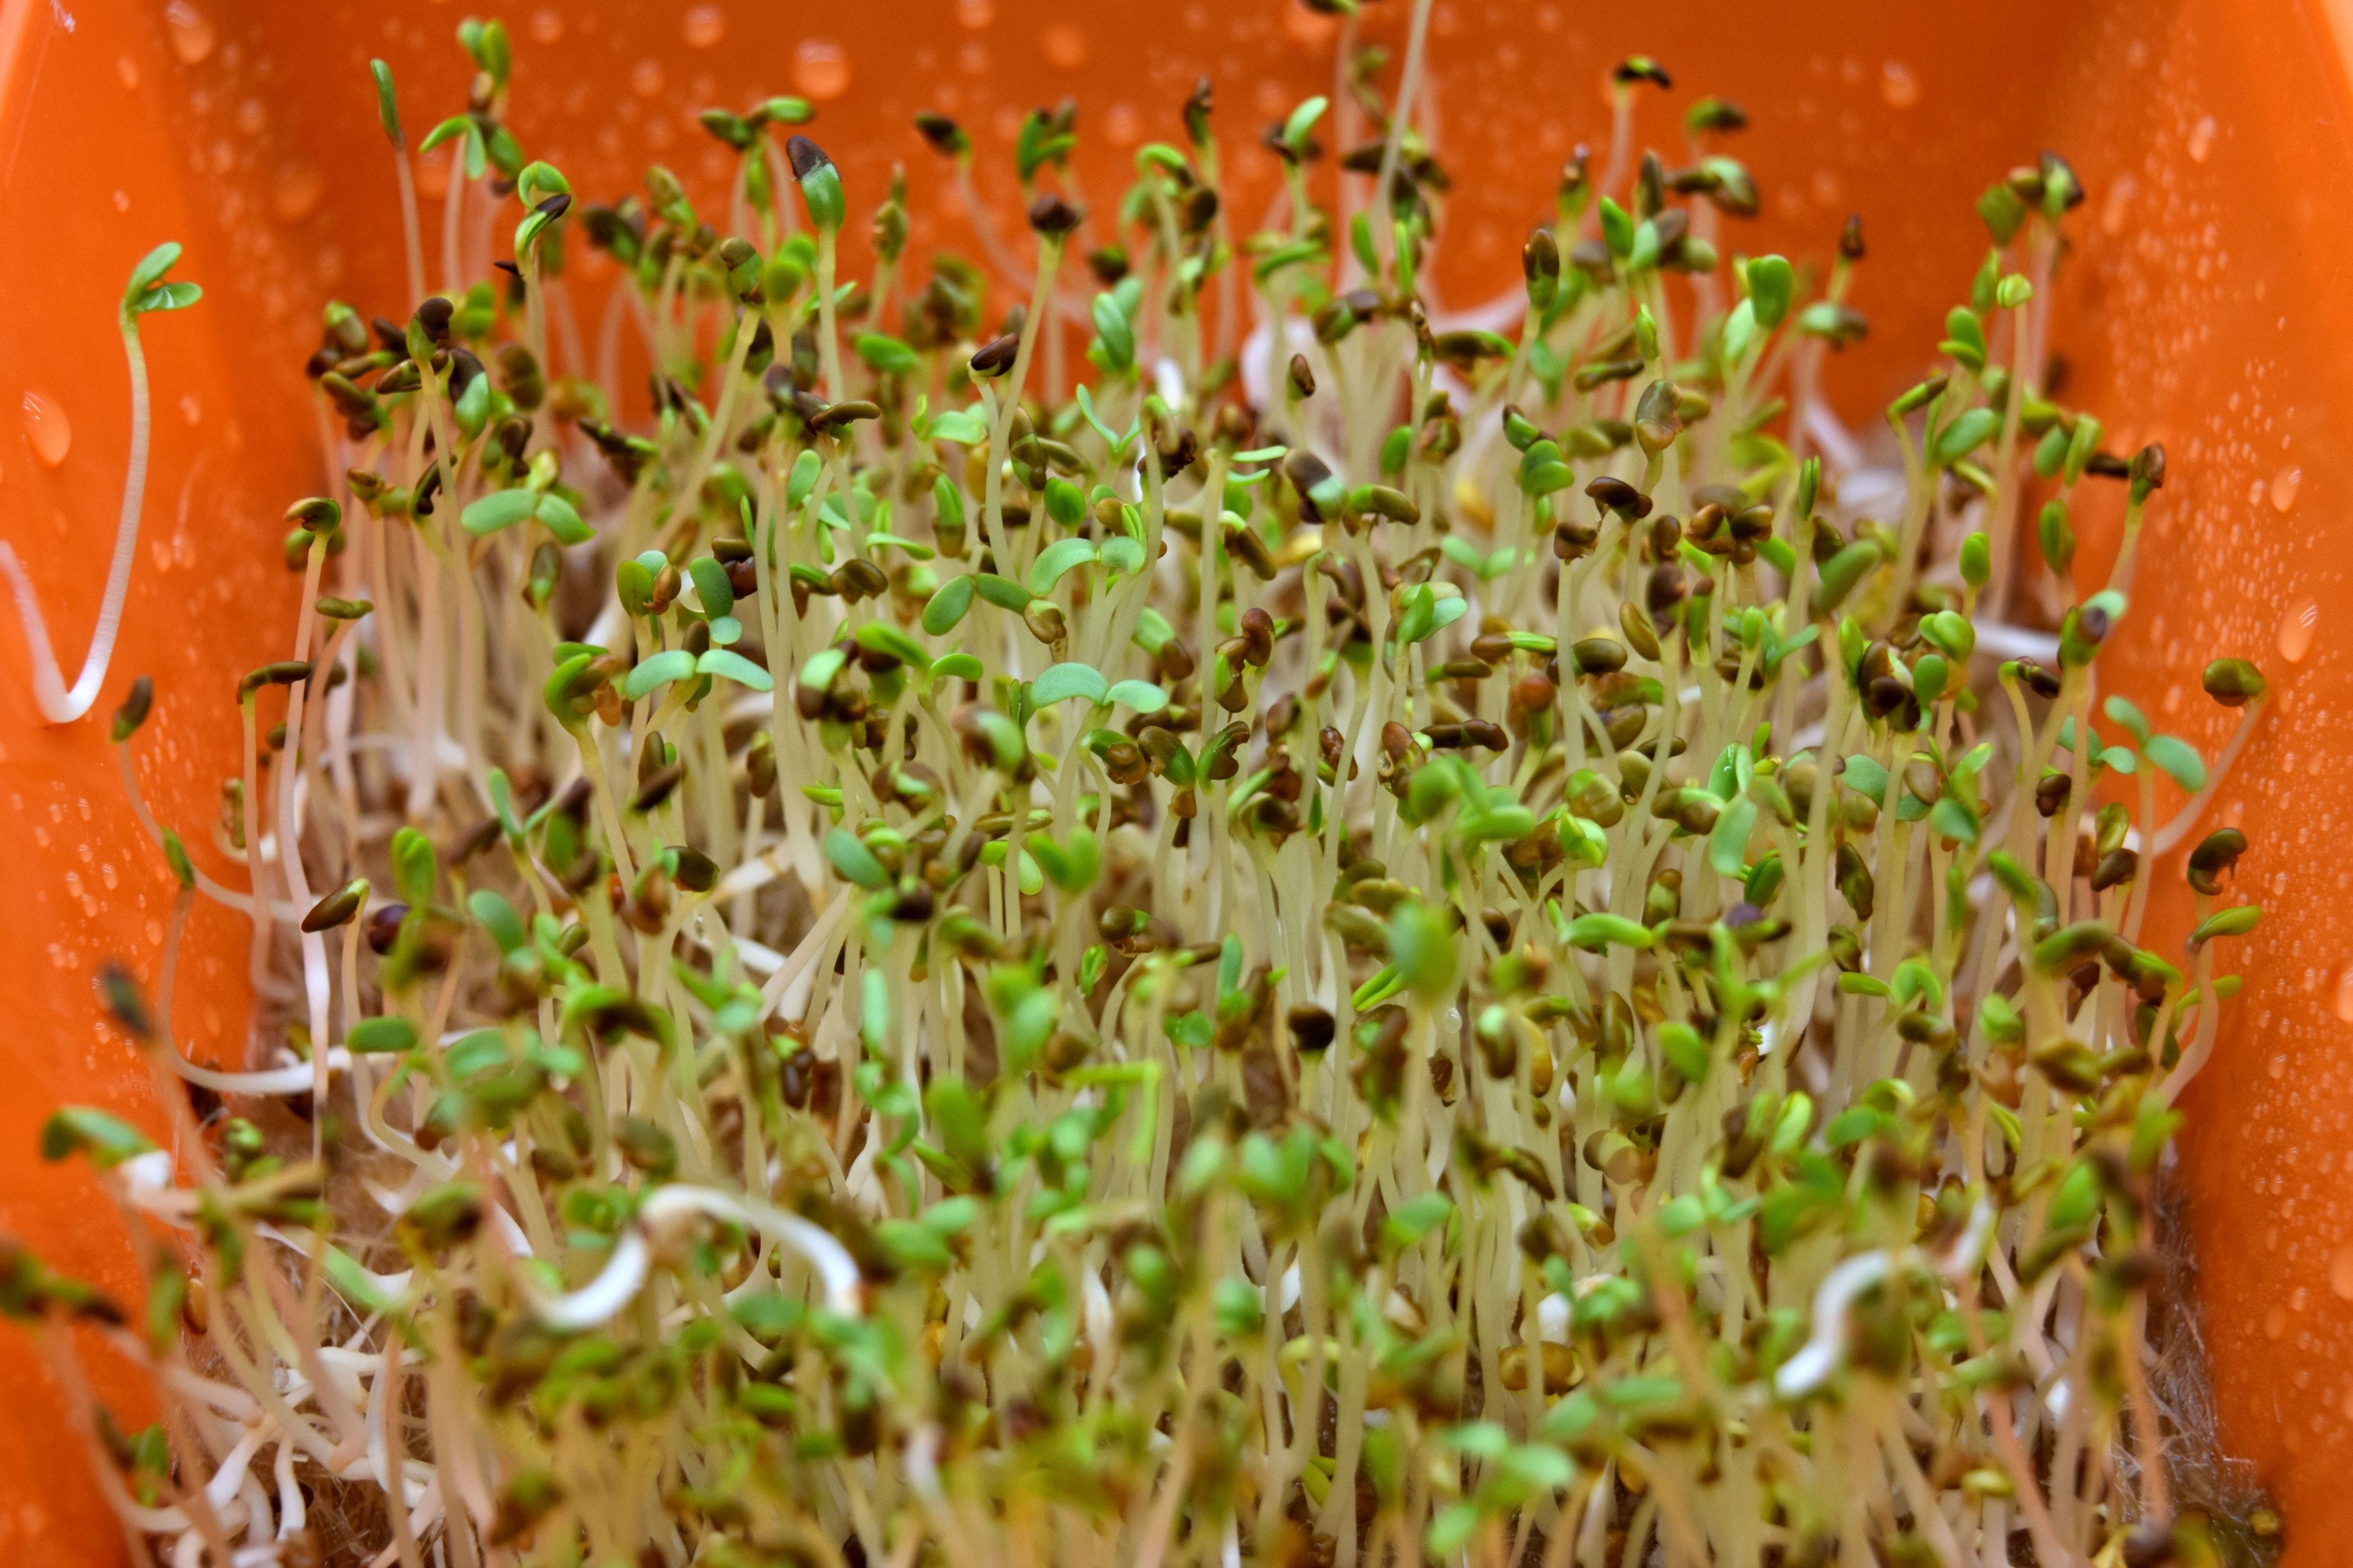
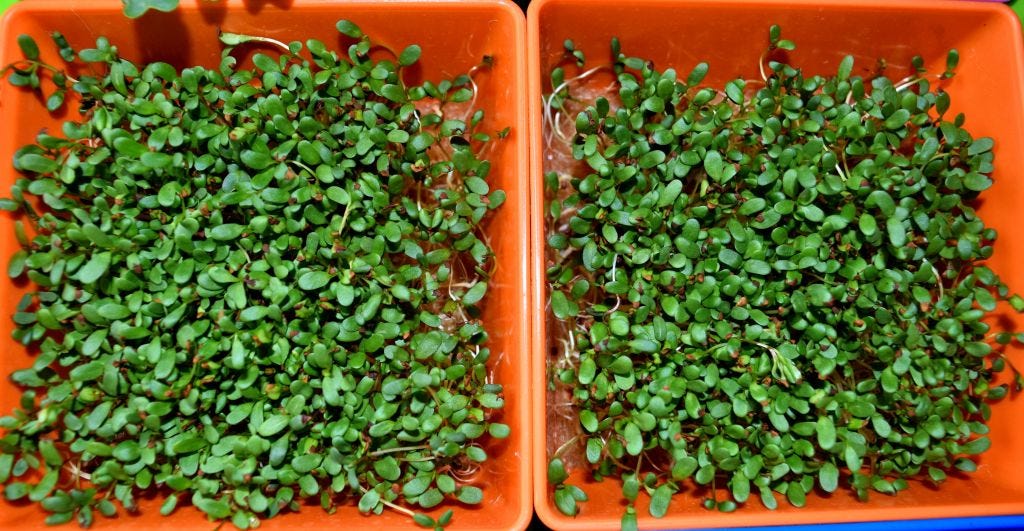
Alfalfa, from High Mowing Organic Seeds (Sprouting Seeds) in the two orange containers
Champion Radish, from a seed packet* by Page’s Seeds in the green tray
Early White Vienna Kolrahbi, from a seed packet* by Livingston Seeds in the purple tray
*I picked up these seeds at one of my local stores. This size is okay for the experiment but would be very costly to buy this quantity at these prices on a regular basis.
My Observations
Initial concerns regarding blackout and weighting the 5″ squares. I did put another 5″ square on top of the seeds for the first couple of days until I stated to see sprouting. I was concerned about high humidity and mold problems so I did spray them as I brought them out of black out with a food grade hydrogen peroxide and water solution to deter mold and fungus. The first day under lights I only slightly misted the tops as there was still plenty of moisture underneath in the solid tray. I began bottom watering the second day under lights with a nutrient solution called “Ocean Solution 2-0-3” diluted in water at the rate of 1.5 teaspoons to 2 quarts of water. Only 1/4 cup of nutrient solution done via bottom watering was needed twice a day. The hemp fibers stayed very moist.
I keep fans and lights on 16 hours per day (6 AM to 10 PM). The lights are T5 daylight spectrum bulbs (3 bulbs per shelf) at 2200 lumens each for 6600 lumens per shelf. The fans are actually computer hard drive fan units. I keep the temperature around 70-75 degrees F. in my house. This past week I’ve had on the air conditioning. I live in Michigan and it snowed for Mother’s Day and now it’s 90+ degrees F.
These 5″ containers are great, but it is a good idea to keep in mind watering and light requirements for the different crops. It is ideal to keep them all similar if possible.
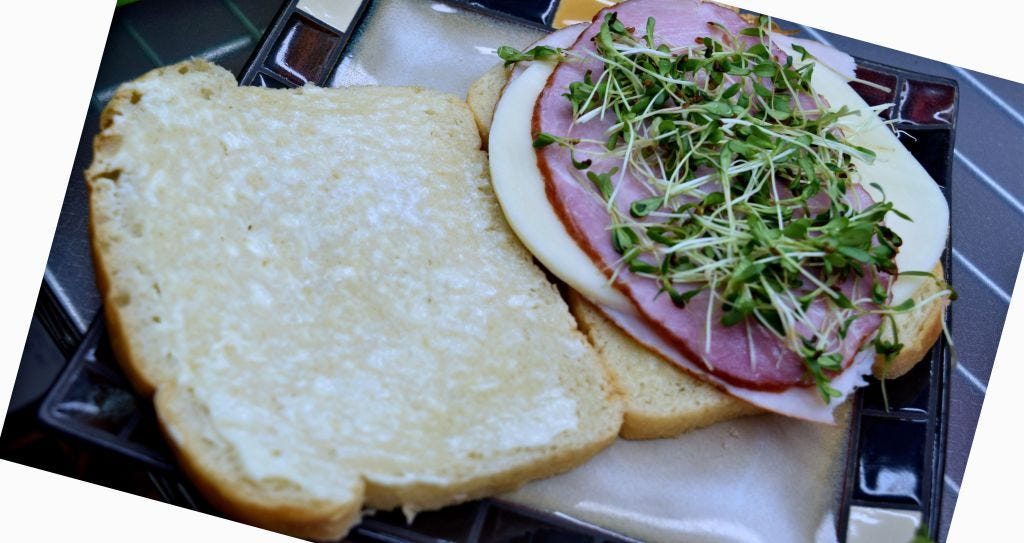
By Day 7 the sprouts really looked good, especially the alfalfa sprouts and by lunchtime the alfalfa sprouts got harvested. They tasted great on my sandwich.
Stay tuned for more lunches…I mean “experiments” later. Most of the other crops will be ready for harvest in a couple of days. True Leaf has requested my feedback on their new variety of Brussels Sprouts. Come back in a couple of days when the final results are in.